Trip Distribution
Calculating Friction / Cost
Before moving onto the next section, there needs to be some preliminary work creating a cost matrix representing travel time ( in this guide ) between zones. Travel times between zones is calculated by inserting a 0 demand matrix in EMME for both auto and transit. The next steps outline the preliminary set-up required to calculate the travel times for both auto and transit modes. A zero demand matrices are included as part of input files.
Before XTMF can successfully call some of TMG Toolbox tools, some work must be done to prepare the network with attributes that are used in the assignment steps. Please see Attributes to Create and Full Network Set Generator. These modules are specific to initializing certain attributes in the Emme project that are not within the scope of this tutorial. For simplicity the module setup is already provided from the appendix part of the guide. To demonstrate module copy and paste functionality, follow the next steps to import the premade modules into the Frabitztown model system.
Under the Tools module list of Execute Tools from Modeller Resource, add a new module of type ExtraAttributeContextManager .
Copying Pre-existing Modules into Frabitztown
Under the ExtraAttributeContextManager module just created copy and paste the xml [Attributes to Create] into
into the model system. Make sure the module AttributesToCreate is highlighted. You can directly copy XML text
data into the model system.
Next, under the same ExtrAttributeContextManager module, copy and paste the pre-generated module xml from
Full Network Set Generator under the Emme Tools module list.
Base Travel Time Calculation
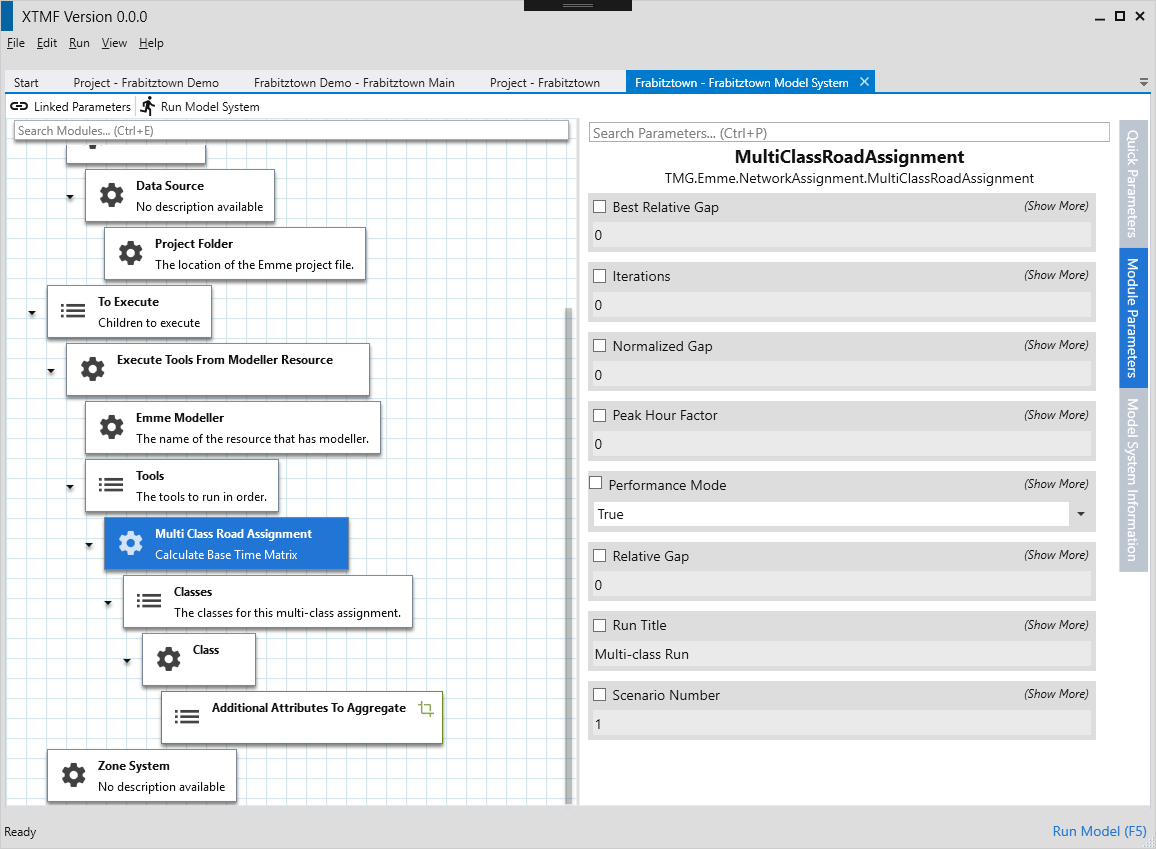
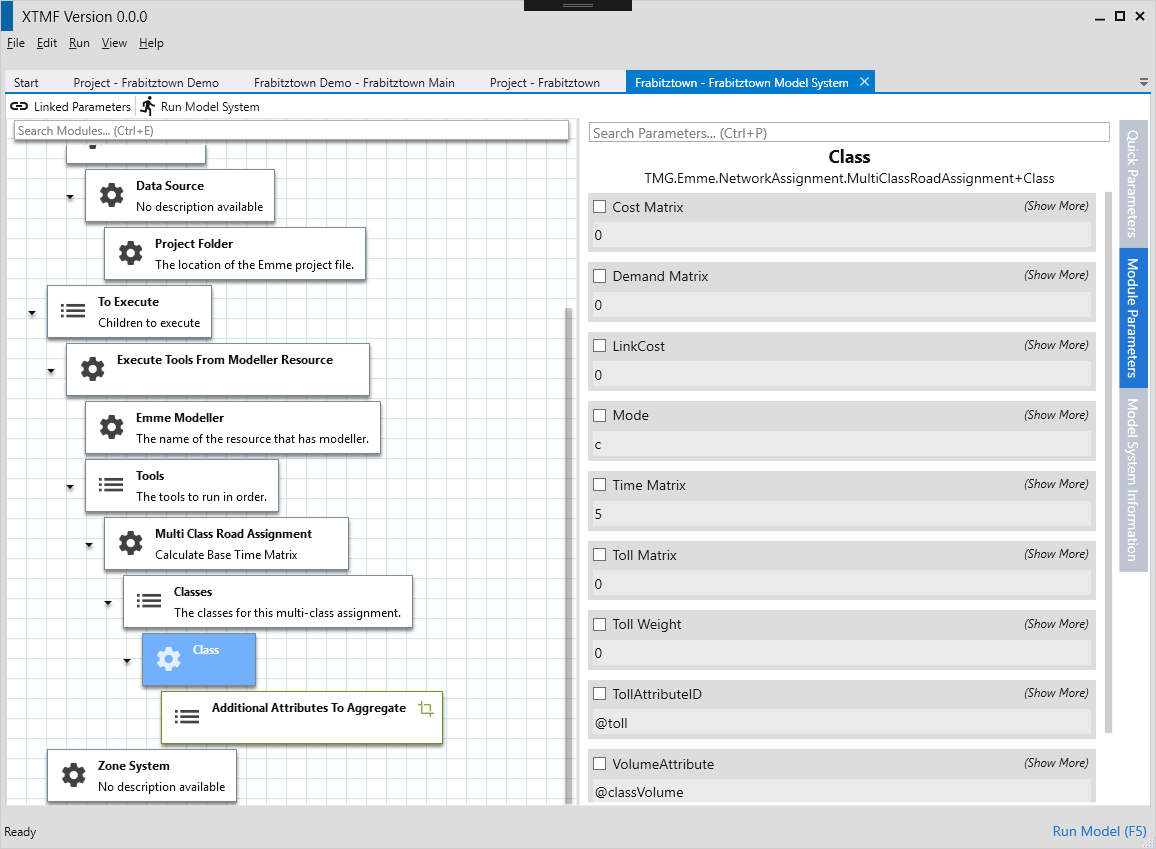
Under the “Tools” module of Execute Tools from Modeller Resource, add a Multi Class Road Assignment module. Under parameters, make sure to
set the Scenario ID (this is the scenario ID in EMME for the Frabitztown input provided). Next, add a child module Class under the module list Classes. Update
the parameter Time Matrix in the class module to 5.
Note
If the model system size becomes difficult to manage - remember to make use of the renaming (F2) and description (Shit + F2) commands that are available. Overriding modules names and descriptions can be useful for navigating the model system.
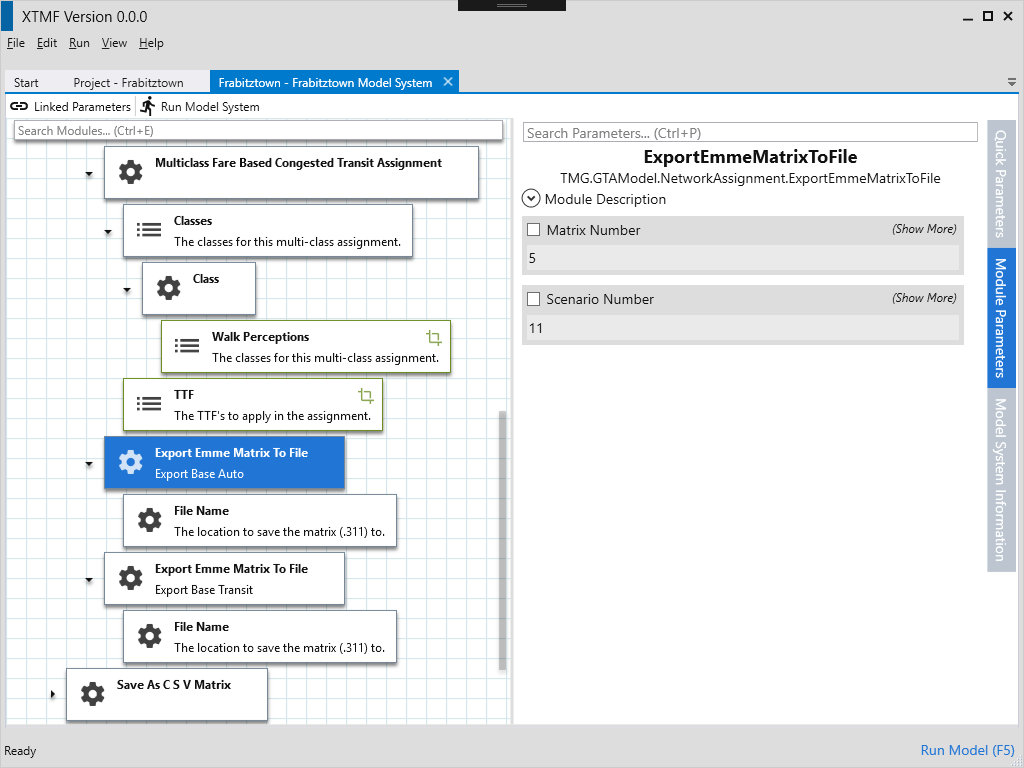
Exporting Emme matrices to file.
For sake of clarity, this tutorial includes this step to demonstrate how information might be extracted from a model system during a run process. Typically these “debug” steps can be ignored in a production ready model system.
Calculating Cost / Friction Matrix with ODMath
Begin by scrolling to the top of the model system tree. Under resources, add a new module of type Resource and set its data source
to the module of type ODMath. ODMath provides a useful set of tools to perform basic mathematical processing on matrices. Set the Resource Name to something memorable and descriptive like CostMatrixResource to help identify
what data this resource contains, and that is in fact a resource.
See also
For a more detailed guide to using ODMath, please see Data Processing with ODMath.
The output of OD Math will be the final cost matrix that will be used to generate trip distributions with a gravity model. Under the
Data Sources module list, add two new Zone O D Information modules. Select their Reader as LoadEmme4BinaryMatrix and point one to
TransitDemandMatrix.mtx and the other to AutoDemandMatrix.mtx. Set each Data source name with with right-click context
menu, or press F2 while the module is highlighted. Naming is required as the ODMath calculation performs resource / value lookup
based on the name of the module referenced in the equation string. Change the ODMath Resource’s parameter to e()^((0.02 * AUTO) + (0.03 * TRANSIT)). Here, AUTO and TRANSIT are the names that have been assigned
to the two DataSource modules.
For the sake of learning and debug purposes, some of this guide makes redundant steps in the model
system construction process. It is not always necessary to write out every ODMath calculation to file. The calculated
results can simply be passed from module to module as it requires them. Typically outputting the results of an ODMath calculation will be done for debugging or other related purposes.
To examine the output of the CostMatrix, add a new module under To Execute of type SaveAsCSVMatrix. Set the type
of ODMatrix to ResourceLookup. Enter the resource name that was chosen for the cost matrix calculation. When working with the module SaveAsCSVMatrix, only one of ODMatrix and ODMatrixRaw can be used. Next, set the
SaveLocation module to FilePathFromOutputDirectory and enter CostMatrix.csv as the output file name.
Tip
When a model system makes constant use of resource modules, it can be helpful to bind the ResourceName as a linked paramaeter with ResourceLookup Resource Name parameter. When these parameters are linked, any update to the
resource name is automatically changed in the other modules that are connected through the linked paramaeter. Pressing ctrl+L with a paramaeter selected displays the linked paramater editor.
Gravity Model
The main distribution of XTMF includes a module GravityModel2D that alleviates some of the process required in calculating trip distribution matrices. This module reads in zone attractions, productions and a cost (friction) matrix and outputs trip distrubutions (demand matrix) for use in the mode choice step. Frabitztown will be using a simple
cost function that is simply the in-vehicle travel time between each OD pair / zone. The GravityModel2D also includes options for balancing against either productions or attractions - so it is not necessary to balance
the trip generation matrix before calculating trip distributions.
Begin again by adding a GravityModel2D under Resources. For Attraction and Friction, use the ZoneProductions.csv and ZoneAttractions.csv files that are included with this guide’s files as the input for those child modules. The Friction module should take the output from the previous step (CostMatrix.csv).
